
Thinking of upgrading your outdoor space with fresh, green turf? Great choice! But before any turf is rolled out, the most important step is ensuring your yard is fully prepped. Poor preparation can lead to patchy growth, drainage problems, and wasted time and money.
To help you avoid common mistakes, we’ve created this step-by-step guide on how to prepare your yard for turf installation.
What Does Yard Preparation for Turf Installation Involve?
Yard preparation means clearing, levelling and conditioning the soil to create a healthy base for your new turf.
It’s more than just mowing or raking—it’s a thorough process that directly affects how well your lawn establishes and thrives.
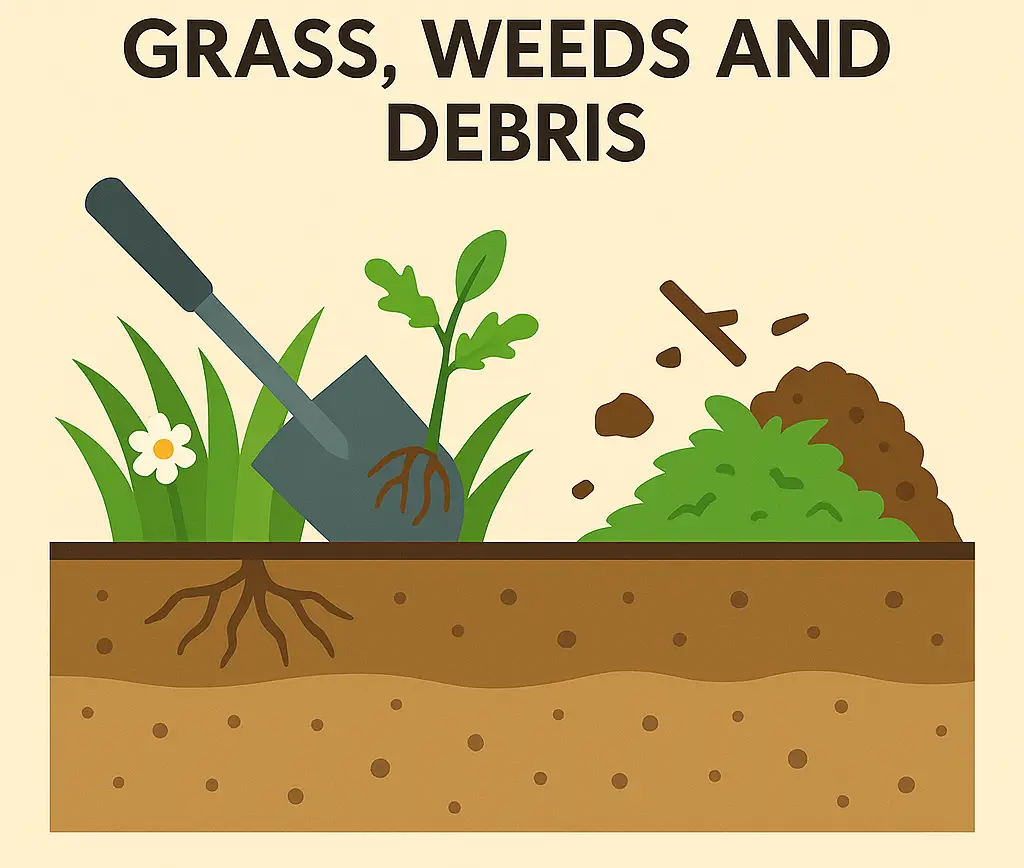
Step 1: Clear Existing Grass, Weeds and Debris
Before you can install turf, you need a clean slate. Start by removing all existing grass, weeds, rocks and debris from your yard.
Use a turf cutter to strip old lawn, or manually dig up smaller areas. Don’t forget to pull out weeds at the roots—leftover seeds can sprout under your new turf and ruin the look.
For larger or stubborn areas, applying a weed killer a few weeks in advance may help. Just be sure to choose a product that breaks down safely before turf is laid.
Want turf that thrives in your local conditions? Explore our range of grass varieties.
Step 2: Test and Improve Your Soil
Healthy turf needs healthy soil. Testing your soil’s pH level will help determine if any amendments are needed.
In most cases, turf grows best in slightly acidic to neutral soil (pH 6–7). If your soil is too acidic or alkaline, you can add lime or sulphur to balance it.
You should also dig in some organic matter—like compost or manure—to improve structure and fertility. This creates an ideal environment for roots to spread and water to drain effectively.
Step 3: Level and Grade the Area
Once your soil is healthy, it’s time to level the surface.
Use a rake and shovel to create an even, flat surface across your yard. This isn’t just for aesthetics—an uneven surface causes water to pool and your turf to suffer.
It’s also vital to ensure your yard is slightly graded away from buildings and patios. This allows water to drain properly and prevents soggy patches from forming under your new lawn.
Need professional help with installation? Our team can handle every step—check out our turf installation services on the Central Coast.
Step 4: Compact the Soil and Water Lightly
After levelling, you’ll need to compact the soil using a roller or compactor. This helps remove air pockets and creates a firm base for your turf.
Once compacted, give the soil a light watering to moisten it. You want it damp but not soaked—too much water and your turf might not sit properly.
It’s a small step that makes a big difference in how well the turf binds with the soil underneath.
Step 5: Add a Starter Fertiliser
Before laying turf, apply a turf starter fertiliser across your entire yard.
These fertilisers are specially designed to encourage strong root growth in newly laid turf. Spread it evenly and lightly rake it into the topsoil so it integrates fully.
Doing this will give your lawn the nutrients it needs to thrive from day one.
Step 6: Time Your Turf Delivery Right
Timing is everything.
Make sure your turf arrives just as you’re ready to lay it. Turf starts to deteriorate quickly once harvested, especially in warm weather.
At Peats Ridge Turf Supplies, we deliver fresh, high-quality turf straight from the farm. Once it’s on-site, lay it the same day for best results.
Want to learn more about our fresh turf options? Visit Peats Ridge Turf Supplies.
Step 7: Have the Right Tools Ready
Preparation doesn’t stop with the soil—you also need the right tools on hand.
Here’s what you’ll need:
- Rake and shovel
- Turf cutter (optional for large removals)
- Soil pH test kit
- Compost or soil conditioner
- Lawn roller or compactor
- Wheelbarrow
- Utility knife (for cutting turf to size)
- Hose and sprinkler system
Having everything ready will make the installation process smooth and stress-free.
Step 8: Water Thoroughly After Installation
Once your turf is laid, give it a deep, even watering. This helps the roots settle into the soil below and prevents the turf from drying out.
For the first few weeks, water daily—ideally in the morning—to keep the turf moist as it establishes. Gradually reduce watering once the lawn starts taking root.
A well-watered lawn is the key to strong, healthy grass.
Ready to Roll Out Your Lawn? Here’s What to Do Next
Now that you know how to prepare your yard for turf installation, you’re one step closer to a lush, green lawn. Preparation is key—get the groundwork right, and your turf will reward you for years to come.
Need expert advice or hands-on help? Peats Ridge Turf Supplies offers professional turf installation and locally grown turf varieties for homeowners and landscapers alike.
Contact us today to get started with your dream lawn.